Tiny House Building: the Tools You Need

[convertkit form=825218]

Disclaimer: This post contains Affiliate Links for your convenience and at no additional cost to you.

This is the first post in a series that will help guide anyone aspiring to build their own tiny house. To be clear up front, I’m not recommending in any of these build-posts that you go against established building codes or your local regulations. I am only sharing what we did and what works for us. Never compromise your safety for a shortcut or cost savings, and when in doubt, ask an expert.

So you’ve decided to build your own tiny house. That’s great! Building your own tiny house can seem intimidating, but with the right tools and a lot of determination, you can do it! If you haven’t seen it already, check out our own tiny house building story. I’m not meaning to undermine the incredible amount of knowledge and skill that professional craftsmen have, BUT! If you have the space, the time, and the ability to learn, then you can build your tiny house yourself (even if you are a novice!).

Before you can begin your build, you will need some specific tools on-hand. I’ve provided links to all of these tools on Amazon. These are the same tools that I have and did use on our tiny house. You’ll notice that I favor certain brand names. Yes, there’s a reason for that, mainly that I find these products to be a good balance of quality and affordability. If you can get these tools for cheaper at a local hardware store or lumber yard (or used), then I encourage you to take advantage of that bonus. But, if you can get a better deal online, it would help us to fund this blog if you would use the links in these articles for your shopping (thank you in advance!).

And now, the tiny house building tool list you’ve been waiting for!

[convertkit form=817745]

Carpentry
Framing Square

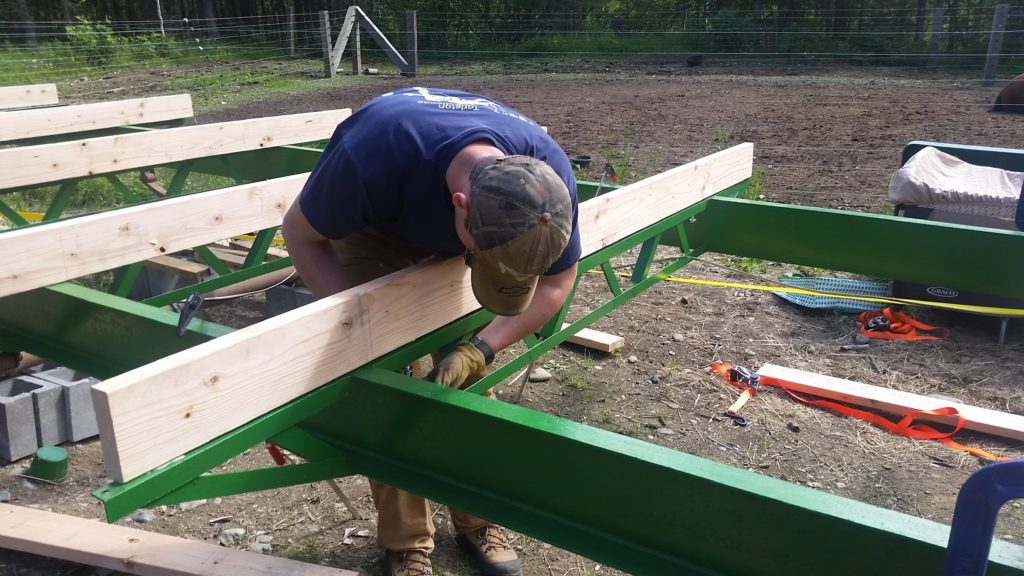
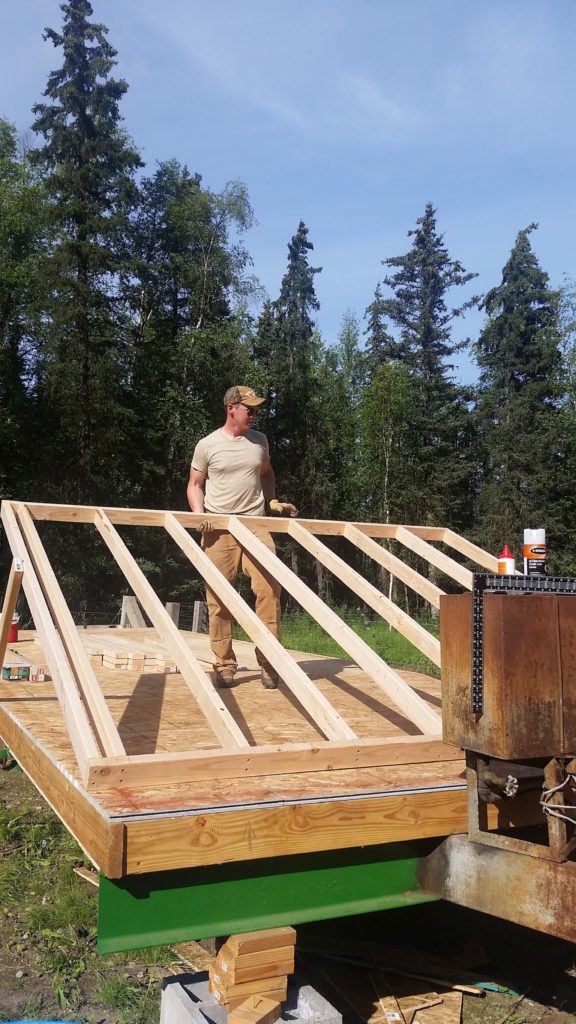
It’s not all that sexy of a tool, but it is vital for almost every aspect of carpentry work that you’ll do while building your tiny house. No kidding. One of the first things you must do is to make sure that your trailer is “square” (meaning that the corners for a 90-degree angle at all four corners). From there, you’ll use this to ensure that your walls meet-up at “square” corners. This tool will even come in handy for figuring out your roof-pitch, building stairs, and assembling your kitchen cabinets.

Level

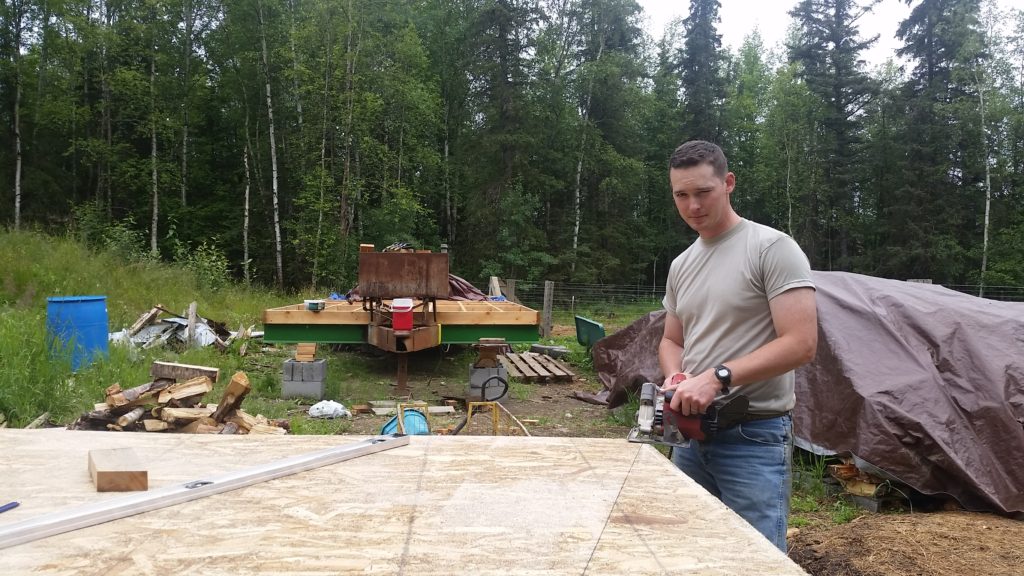
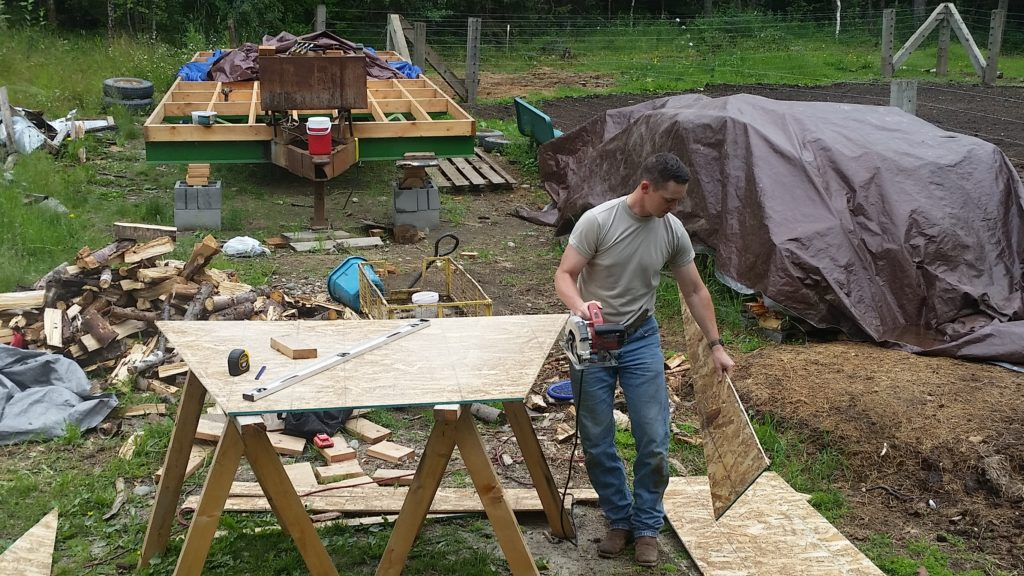
This is a very basic tool that you will need before you get very far into your project. It will behoove you to level your trailer before you start standing up walls. This is the tool for that task. If you can afford to get an 8′ long level, it’ll help you get a more accurate reading in many situations. If you can only afford one level, then I recommend starting with a 4′ long level. It’s long enough to get a pretty good level reading over a distance, yet short enough to be used in smaller spaces such as window and door frames. Plus, a 4′ long level is just the right size for using as a straight-edge for drawing perfectly straight lines across a sheet of plywood for a circular saw cuts. Basic, but multifunctional, and 100% necessary for your tool kit.

Circular Saw

If I could only have one do-it-(almost)-all saw, it would be a circular saw. It wasn’t until I was well into my 20’s that I realized the correct term was circular saw and not “skill saw.” Skil is synonymous with the circular saw where I grew up. So naturally, I gravitated toward the Skil brand when it was time to buy my own. And I haven’t been disappointed! It’s a simple little contraption that doesn’t need extra bells and whistles. This is a must-have tool for cutting plywood, sheet metal, and dimensional lumber.

Sliding Miter Saw

While the circular saw is the jack-of-all-trades cutting tool, the miter saw is your dimensional lumber cutting specialist. Seriously, this will save you so much time on framing projects that you can’t afford to not have one. But why a sliding model? You could make due with a simpler model, you’ll just need to add-in a few extra movements when it comes time to cut the 2″x12″ headers over the door and windows. Not complicated, just inconvenient.

Drill/Impact Driver

Unlike most home construction projects that I’ve seen, we decided to use screws instead of nails for the framing. My rationale behind that is that screws should hold everything together better than nails while the tiny house is bouncing down the highway at 55 mph. Maybe it’s overkill, but I’m happy with the results regardless. Probably the biggest factor for choosing to use screws though was the fact that I didn’t have an air compressor nor a 3″ nail gun. So we went forward with our one cheap power drill that I owned, which bit the dust just as we started the framing. Oh well, new toys (I mean… tools)!.

I bought this combo set by DeWalt so Rachel and I could be working at the same time. I was impressed by the battery life, especially the upgraded 5 amp-hour batteries (these often lasted all day on one charge). The hammer-drill is a little beast that can drive 3″ deck screws through lumber with authority. Overall, I’m very happy with this set and would buy another in the unlikely event of a failure (they’ve been severely abused over the last few years and just keep working).

[convertkit form=817745]

Electrical

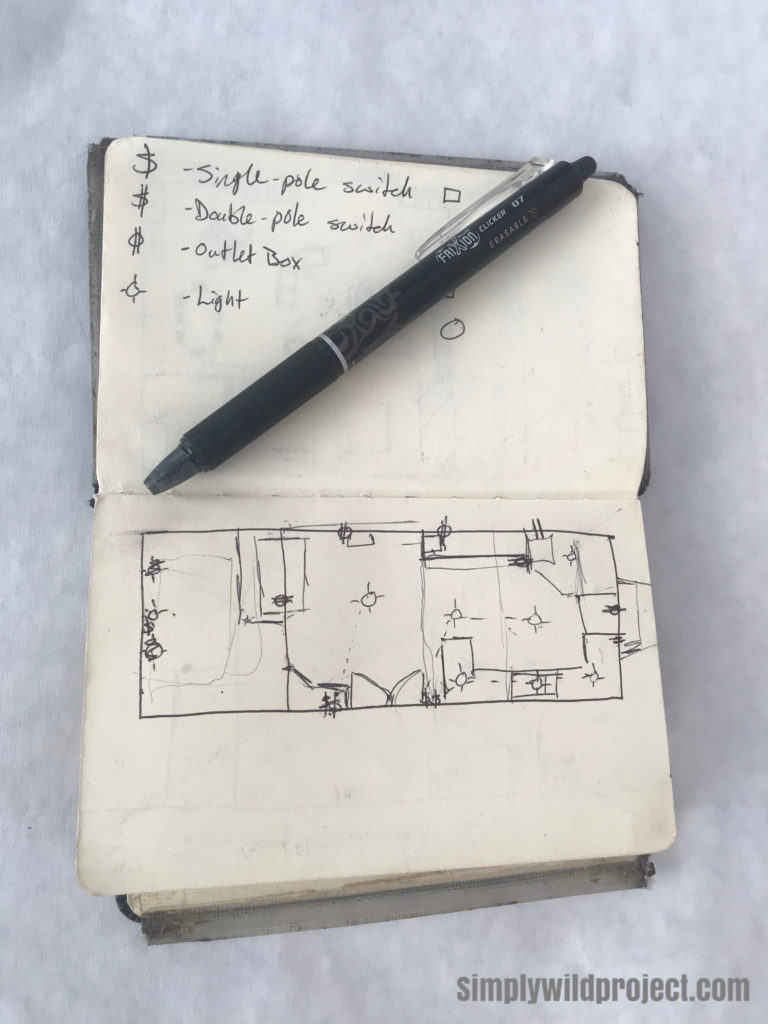
After we framed and enclosed our tiny house, the next thing we did was to rough-in the electrical. Like carpentry, the basic elements of electrical work aren’t complicated. However, unlike wood, electricity isn’t as forgiving if a mistake is made. So it was with a few pointers from an experienced friend, we managed to do all of the electrical work ourselves. If you decide to wire your own tiny house, you will need a few basic supplies to get you started.

Wire Stripper

When you’re dealing with electrical wire all day, your best friend will be a good set of wire strippers. I found the pliers style to be less frustrating than the self-adjusting style. Plus, they often combine other useful features such as the ability to cut wire and crimp connectors. Other than a couple of screwdrivers, this is the only tool you’ll really need for about 98% of your wiring needs.

Connectors

Twist-on wire connectors, or “wire nuts” as I grew up calling them, are not very complicated. But you will need more than a few handfuls to finish your tiny house. And I don’t know about you, but I find that wire nuts can be a bit frustrating when trying to connect 3 or 4 wires. Our friend introduced us to push-in connectors, which allow for easy connecting many multiple wires. The 3 port connects will do most of the needed work, with 4 port connectors mostly (maybe only) being needed for 2-way switches. They’re simple to use and almost foolproof. Plus, in my opinion, everything fits better in the electrical box when the push-in connectors are used compared to traditional wire nuts.

Electrical Tape

I feel like I shouldn’t have to talk about electrical tape, so I’ll keep this short. Get a few rolls, and use them. Seriously, bare wire (except for the ground wire) makes me nervous. When in doubt, wrap it.

Plumbing
PEX Crimper

My first experiences with plumbing revolved around PVC pipes, joints, primer, and glue. While not complicated, it takes some practice to cut the pipes to a precise length, make the connections before the glue sets, and getting the joints set at just the right angle. Fast-forward however-many-years later, and now PEX pipe will handle the vast majority of your tiny house plumbing needs. While there are a few different PEX specific tools, the only one that you really need is the crimping tool. There are a few other viable options for cutting PEX pipe than the special PEX cutter.

Pipe Cutter

As I said above, there are other options for cutting PEX pipe than the special PEX cutter. This style of cutter is my preferred tool due to the multifunctionality. While PEX can fill most of your needs, you may need to incorporate copper tubing for propane or heating fuel lines. This tool will but both PEX and copper, and store-away in a much smaller space than the PEX cutter (an important consideration with living tiny!).

Flare Tool

There’s no need to be intimidated by copper pipe for propane or heating fuel lines. If soldering isn’t in your bag-o-skills, then I recommend using flare connections. The flaring tool is easy to learn and simple to use. The best part is that this one tool covers a broad range of the commons copper tube sizes that you may have to use.

[convertkit form=817745]

Now What?

If you’re not familiar with how to use any of these tools, then find a friend (or go make a friend) that has some experience and ask for a lesson. If all else fails, go to YouTube. Always take safety precautions when using power tools (especially the ones that are capable of removing fingers and large volumes of blood!). Practice until you’re comfortable with their basic functions. It won’t take you long to get comfortable enough to go live with your building project!

While this is not a comprehensive list of all the tools that you will need, it will get you pretty far into your project. I recommend having some basic handtools readily available, such as a hammer, a tape measure (thanks for the reminder Bob!), some screwdrivers, and a few different pliers. Eventually, you will also need a good air compressor and nail gun, and perhaps a jigsaw and/or reciprocating saw (I ended up with both).

In the next installment of this tiny house building series, I’ll discuss considerations for making your tiny house livable for the long-haul. Topics will include keeping your tiny house warm, water supply and delivery, and food storage. Stay tuned! In the meantime, we would love to hear from you. Leave us a comment or drop us an email!

Logo of the Simply Wild Project

Tiny House, Big Project!

[convertkit form=825218]

Disclaimer: This post contains Affiliate Links for your convenience and at no additional cost to you.

So this blog is a passion post, a story of how our tiny house on our little farm went from a late night brain fart to a solid reality! Crazy dreams do come true!

How it began

How did we decide to get into the tiny movement? It wasn’t because it was the latest coolest thing to do. Rather, it was out of necessity. We had a 3 bedroom 1900 sqft home while Brady was in the Army. But he was getting medically discharged and we knew that the large house was not going to be feasible after getting out, so we had to make a change. We knew that we wanted to stay in Alaska but weren’t sure about the logistics. We wanted stability for our daughter, a home base that no matter what this near future took us we would have a place. So, as we were in what seemed like a peculiar Alice in Wonderland dream (nothing making much sense), we prayed for a plan, for guidance, a sign… anything to know what direction to go!

One evening we were watching good ole’ Netflix. We were scrolling thru what was available and saw a show about tiny living by HGTV. So we watched it. When it was around bedtime I was like, “Hey! We could do a tiny house! So no matter where we go, whether if we stay in Alaska or go south, our baby would always have the same house if we were to move!” I shared my idea with Brady, and he got excited.

The plan we went with

I took to craigslist, my go-to for anything we need. I found a tiny house ready to go but Brady, being the DIY man that he is, was like, “No! We could design and build our own!” I am telling you, by bedtime we had a rough design of a tiny house and potential trailers picked out on craigslist. This idea gave us direction. We didn’t know what life after the Army would be like, but this gave us a plan.

The planning

Wait one second… this is a cool idea, but where are we going to build it? We were living in a HOA community with rigid rules. I got resourceful and phoned a friend, literally. They agreed to let us build on their property. With the building location set, we began the planning. We were wanting a home that would be functional for a growing family, as we didn’t know how long we’d be in the tiny house. I think somewhere, sometime, we mentioned five years. After watching countless YouTube videos, all the tiny house shows we could find, and reading lots of blogs, we came up with a design that we liked. Little did we know it would change another 200+ times (and still is). But that’s the beauty of planning your own house design! Your home needs to suit you and be functional (and in a tiny house, multifunctional!).

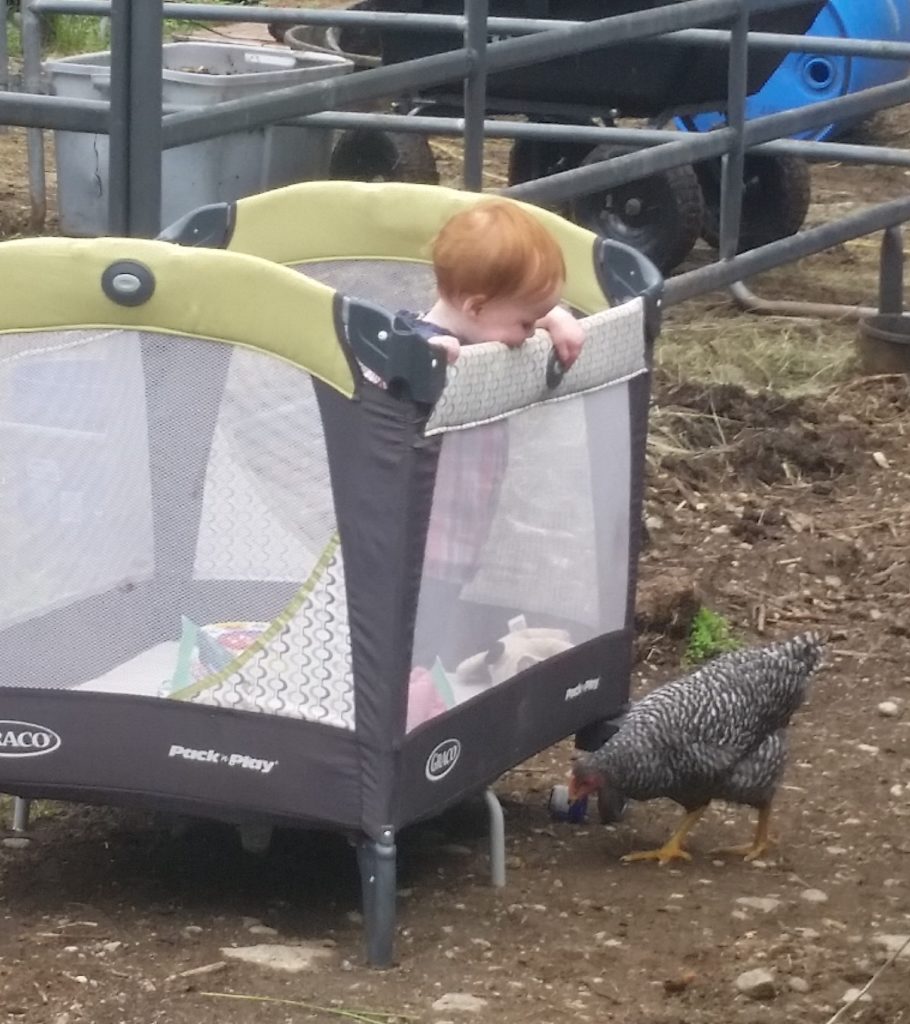
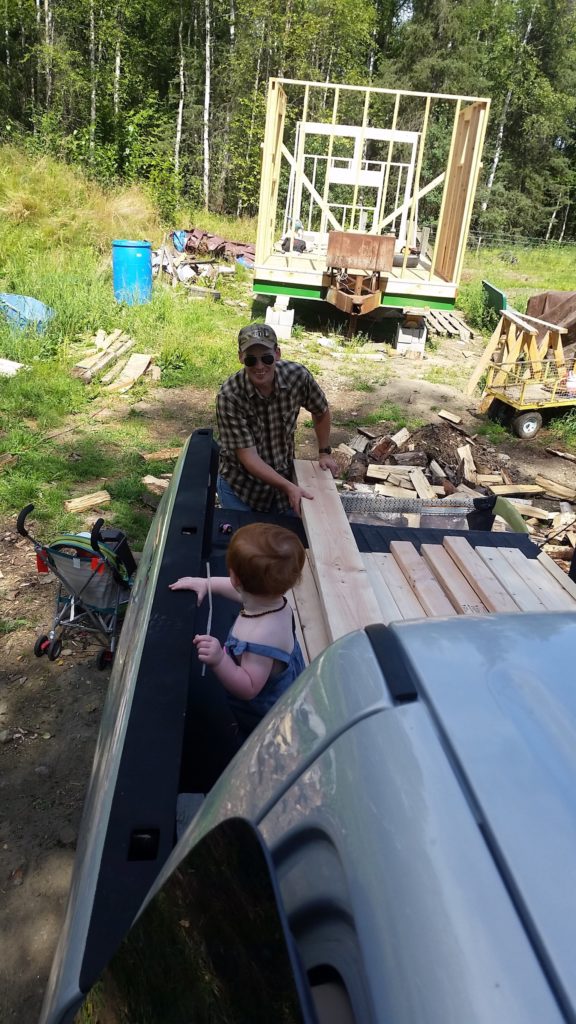
Our little job foreman, feeding the “help”

The trailer

Hahaha! Oh, the memories flooding back as I write this! So back to the first night of this new adventure. Most tiny houses are on 8 ft wide trailers. That just sounded too narrow to me. Cause, guess what? I don’t like small spaces… at all! Ironic , right?
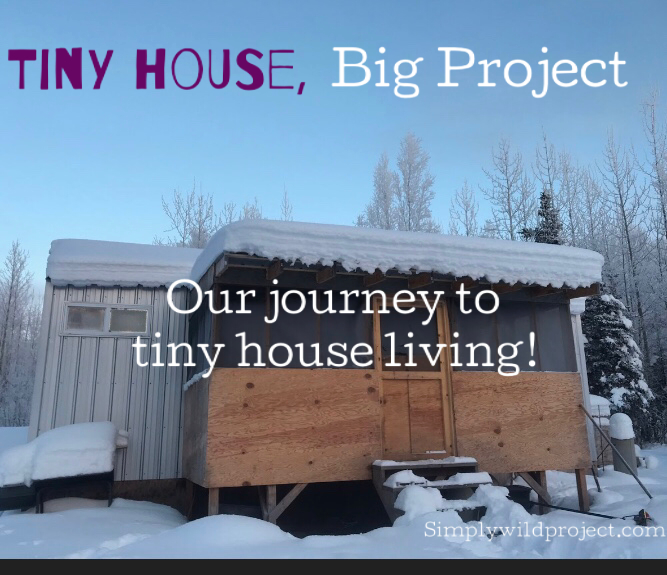
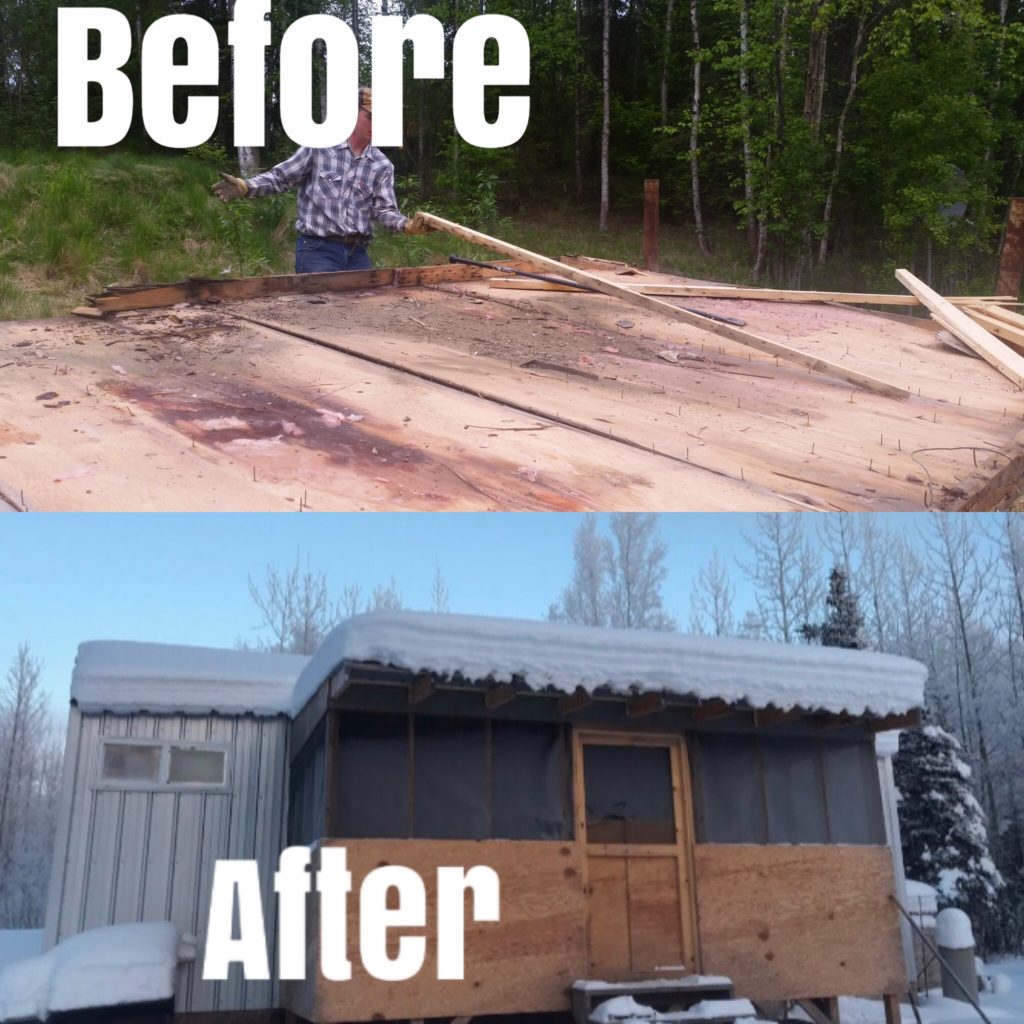
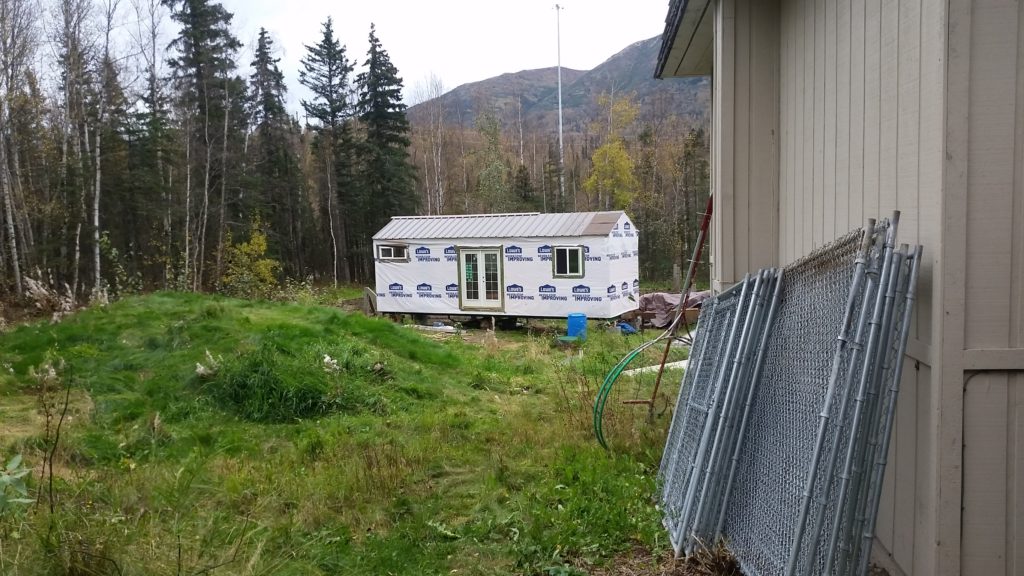
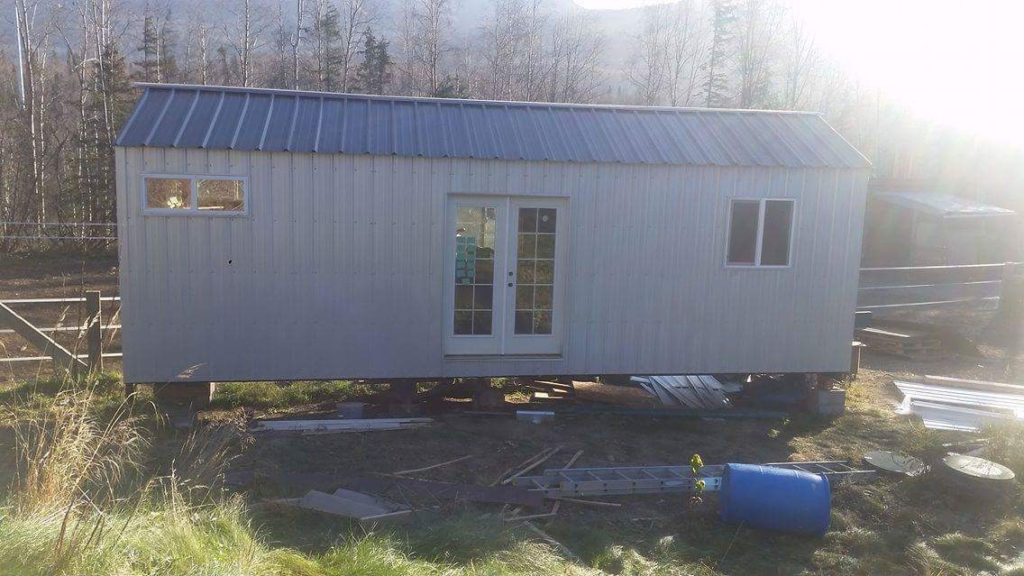
From the way we got the trailer to now, QUITE the transformation!
We had to strip the floor off this trailer and paint it then put a new floor on it!

Anyways, that night as I was trolling craigslist for trailers, I found what I thought to be the PERFECT fit for us. It was a 10-foot wide trailer, and a massive 30′ long. We were going to have a “HUGE” tiny house, lol. I called and it was still available. I think it was the next day that we went to go look at it. Oh, my word, y’all. That trailer was sound and sturdy and all, but it needed help. It had a rotten nasty deck on it. I remember looking at it and thinking… this is a terrible idea. At about that time Brady tells the guy, “We’ll take it! We can pick it up tomorrow.” Oh my word, WHAT did he just say?! So we did it, we started the tiny house building journey.

installing subfloor
very tedious, my thought taking the picture , “its worth it, its worth it!”

Framing

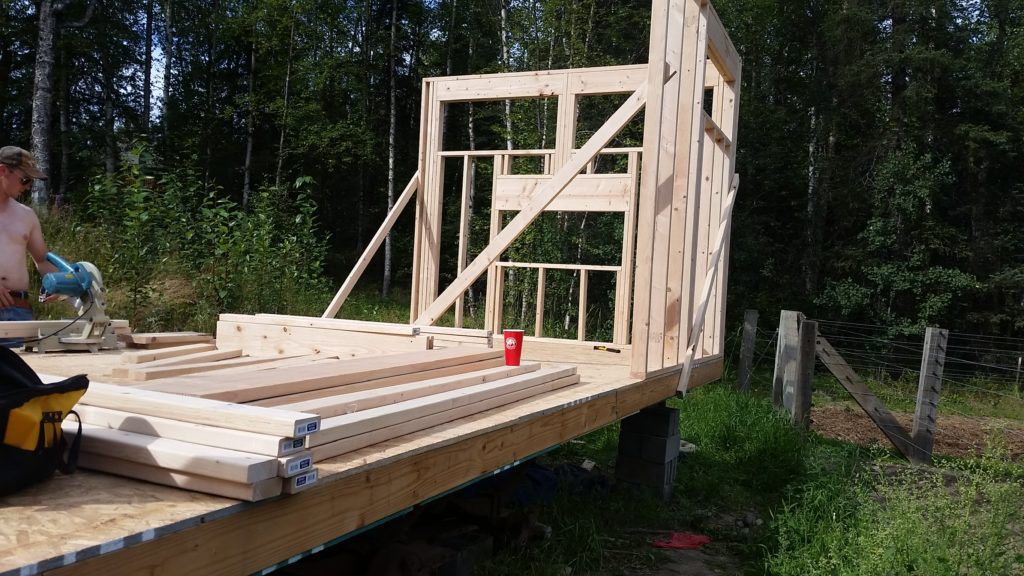
FINALLY a Wall! the only wall without a window!

After a very tedious process of prepping the trailer and putting on the subfloor, we FINALLY began the process of framing. It was surprisingly a quick process! We had help from a friend and from my Dad while he visited. It was so exciting to see the walls go up, our home literally taking shape. I thought, “Dang, we are almost done!” Little did I know it was just the beginning.

Out little foreman directing daddy!
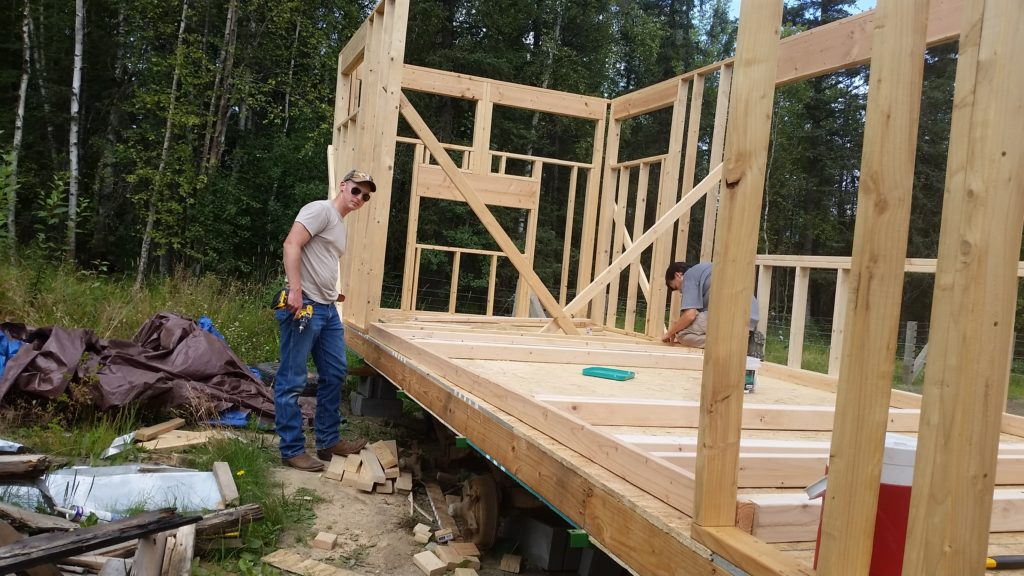
back walls going up

After the framing things slowed down a bit, you know fishing, and oh! Telling us we were getting out of the Army in 12 months? Yeah, four months. And you’re on terminal leave. Heart attack. We had planned to take a YEAR to move into our house, timeline and budget wise. It threw us for a loop! Then hunting happened.

The final wall segment. Enlisting the help of a friend for this piece
Did I ever tell you I am afraid of heights AND small spaces?!

Moving

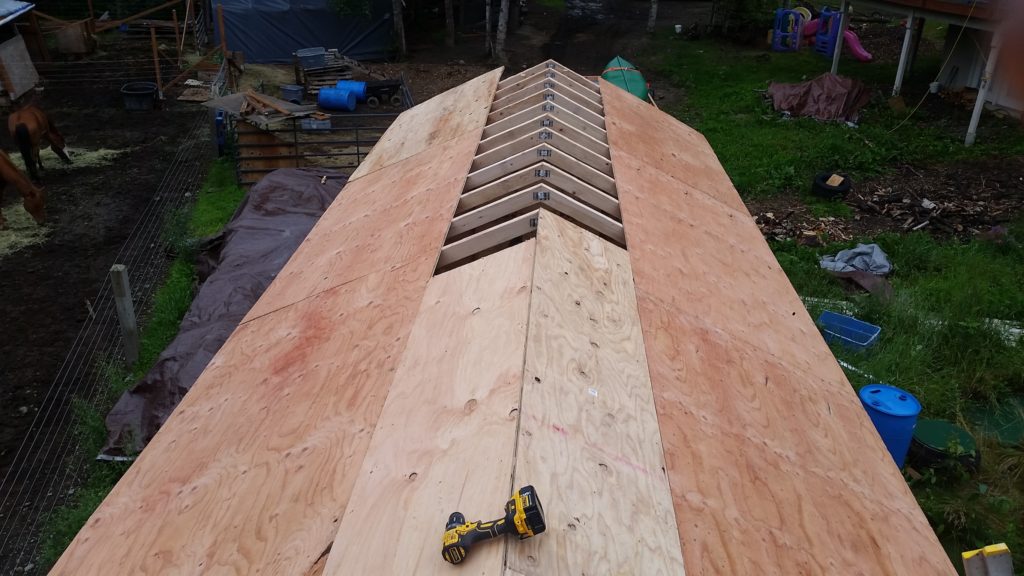
Roofing day, we chose to do it in a windstorm of all days!
Ready for the first move!

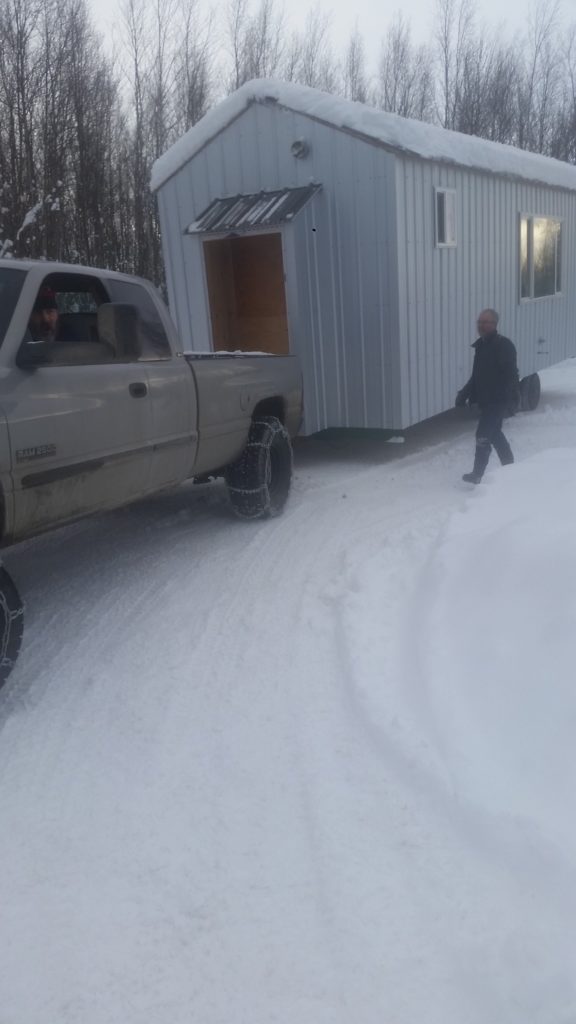
We moved out of our big house to expedite selling it (lonnnnnnnnggggg stressful story for another day) and moved in with a very good friend. After we got the siding on the tiny house, we had to move it closer to where we were now staying. Let’s just say that move was adventure filled. Here’s the jist: hooked it up to Brady’s truck, glare ice, snow chains and brake lines going where they’re not supposed to, stranded, a friend with dump truck came to rescue us and haul the tiny house the rest of the way. Many prayers prayed, and all of them answered!

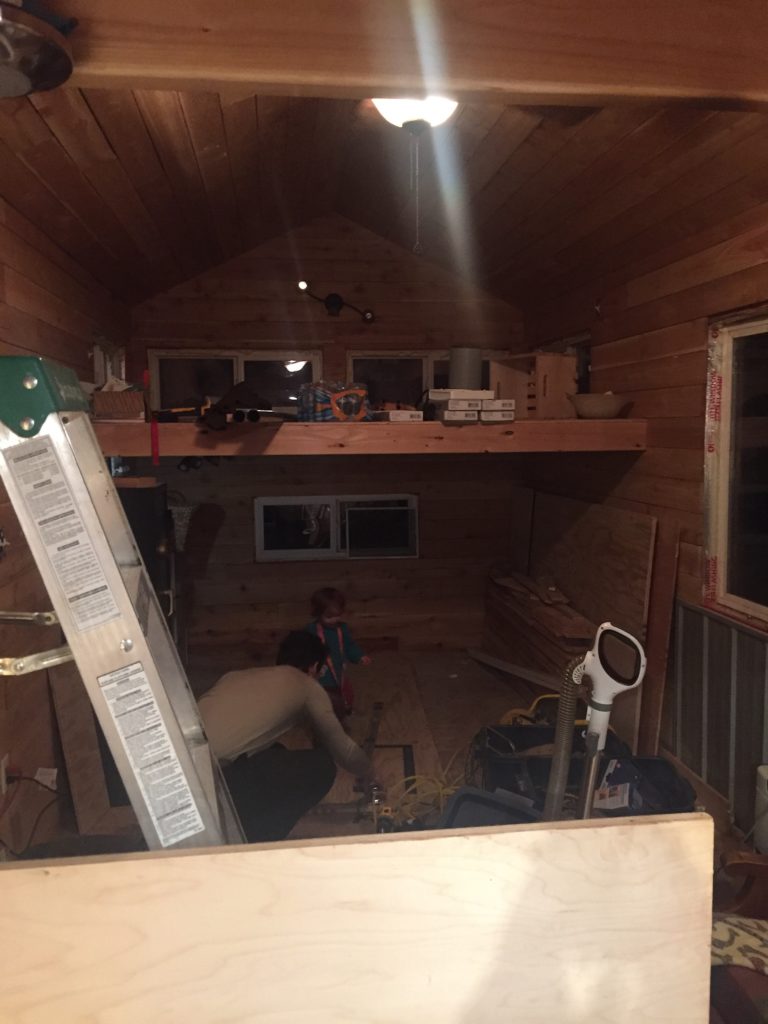
After we go it moved, we slowly started the inside work. By this time it was winter here and working in the cold was not fun, especially with a toddler.

our toyo stove came in handy for those winter work days. The foreman helping daddy measure.

The help

Brady was working as an EMT at the time and doing as much work on the tiny house as he could between shifts. Thankfully, my dad was able to come up for a month to help us finished it. He worked looooooonnnnnng days and I helped as much as I possibly could.

The timeline we were given to move the tiny house from that friend’s house was up and we needed to move it to our own property (now THAT was a true answer to prayer!)

backing it out of a friends driveway!

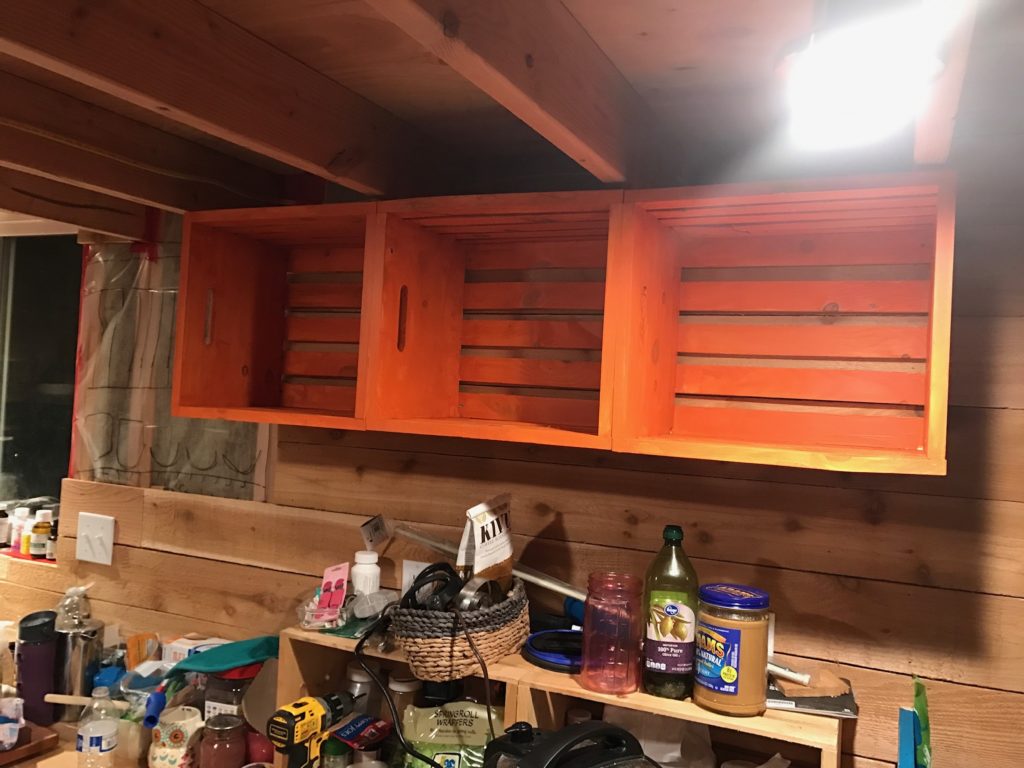
The tiny house, at that point, had the kitchen cabinets and countertops, bathroom, and closet roughed-in. The electrical was finished and the exterior walls were closed-in, and that’s about it. The plumbing and propane lines would have to wait until we got the tiny house to our place.

[convertkit form=817745]

Moving to our property

January 25th, 2017 we started the day working on the tiny house like any other. We were shooting for moving the tiny house in the next few days based on the weather and when our friend’s dump truck was available. Like I meantioned earlier, we have a BIG tiny house for being tiny. Brady’s truck *could* haul it but not without some serious concern,lol.

plumbing “fun”

I randomly checked the weather and, oh crap! A storm is coming TOMORROW! So I texted our friend with the dump truck and he said we could use it but only today as he needed it for work for the rest of the week. My dad was doing last minute electrical work and I said, “Hey we have to move it today, like right now!”

I gave my dad a ride to get the dump truck (he has his CDL). Man, we were crazy. We moved during rush hour. Which, its Alaska, how bad can it be? Well, when there is one highway to get everywhere and over 50,000 people are on their way home and we are moving a clumsy tiny house, its a big deal. Happy to report that the trip went smoothly until we got to our property… which is where we got the dump truck stuck, then Brady’s truck, then our friend’s truck. It was a mess (to be fair, there was 18″ of snow on the ground). But with LOTS of prayer and sweat, we got everyone unstuck.

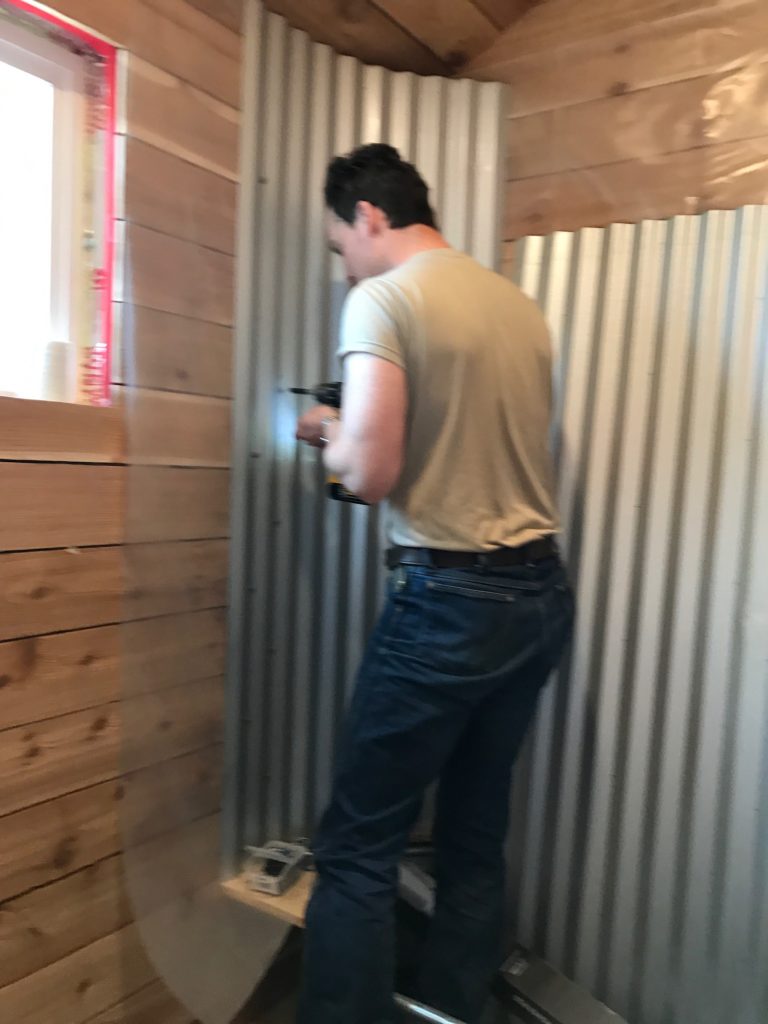
Installing custom shower

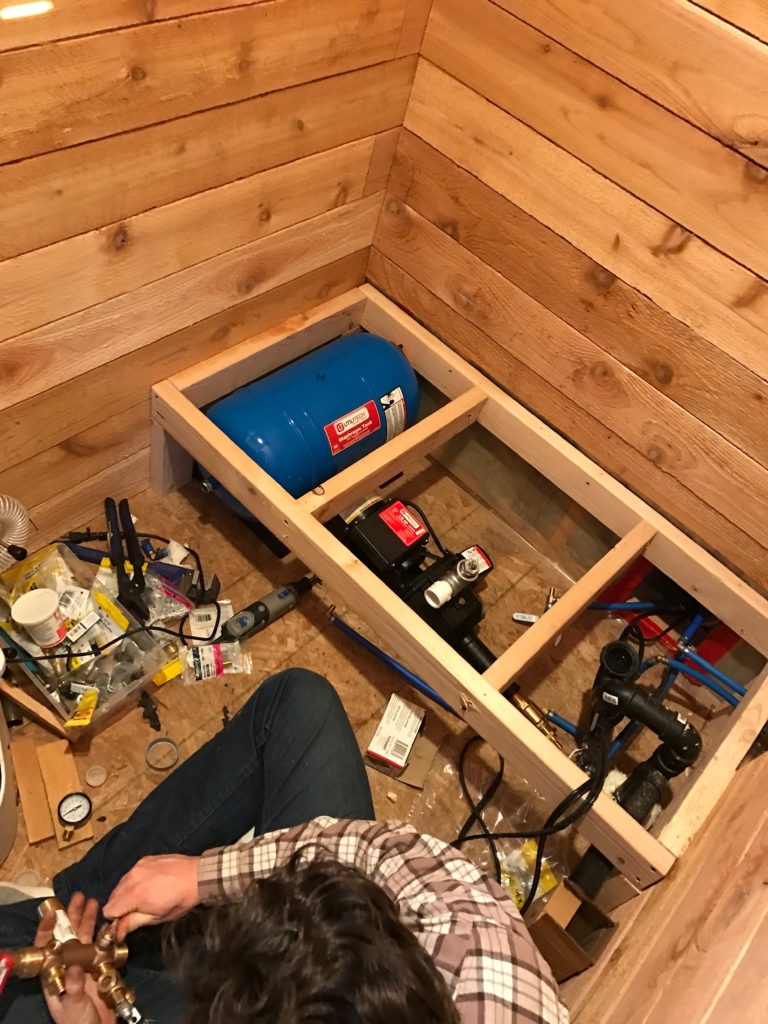
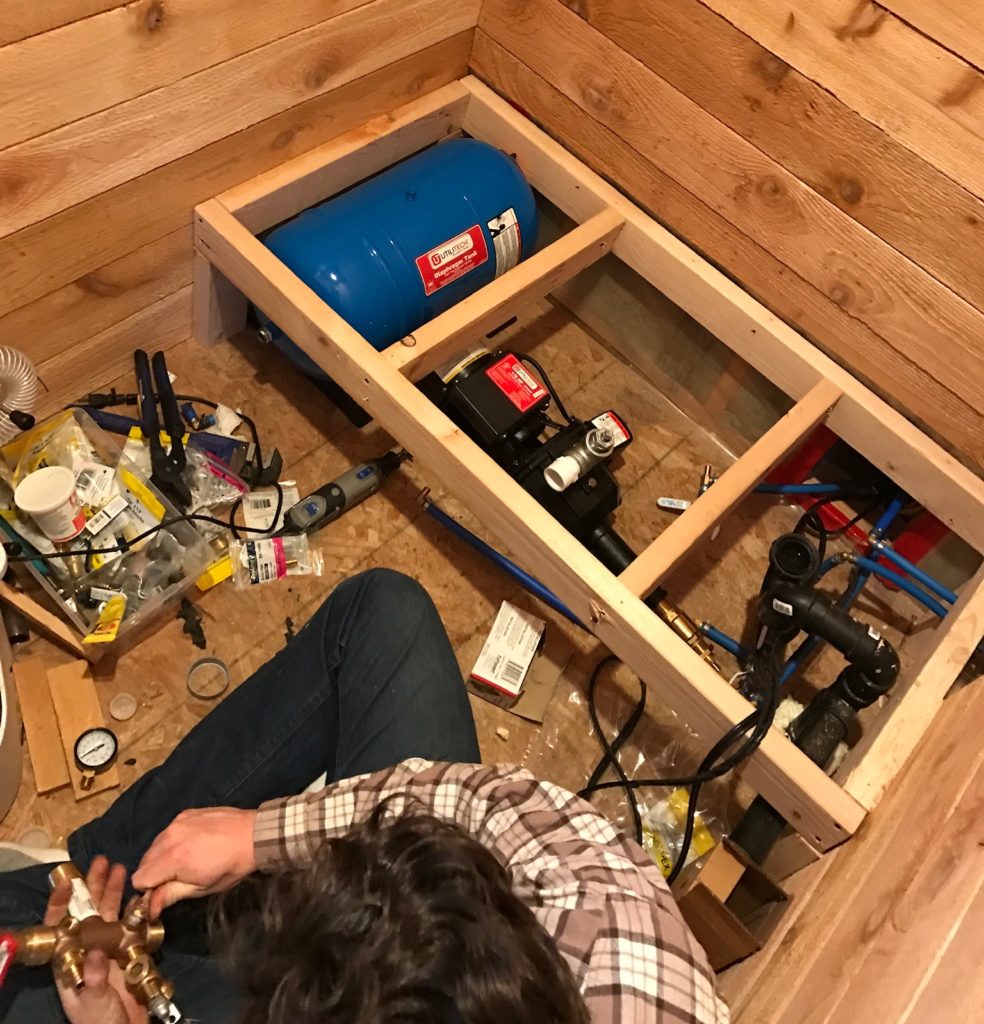
Once there, we hooked up to the grid, finished the plumbing (SO tedious!), and set up the hot water heater and water pump. We will have to do a whole blog post on our plumbing saga with this tiny house. Did I mention we did all of this after moving to the property?! It is tricky to work on a tiny house while living in it.

Building and working

Not done yet!

Not finished but getting more like a home

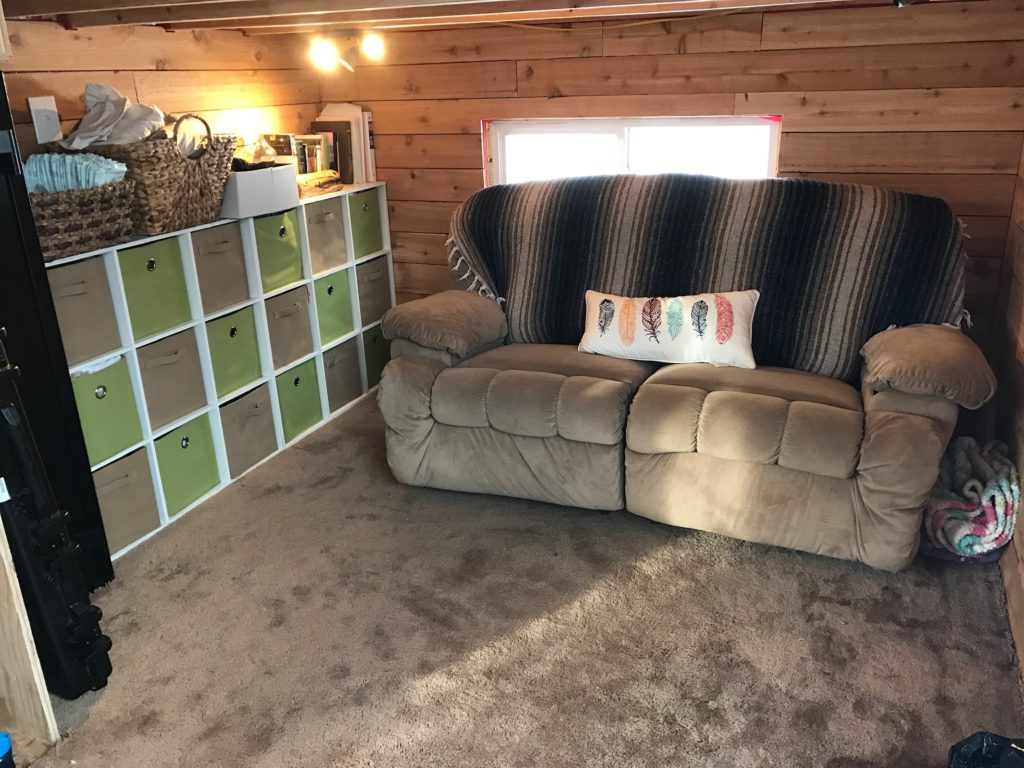
As time has progressed we have made changes to the tiny house and made it a home. We are still working on updates and projects to make it more functional for our family (Be sure to subscribe to be notified for future posts!)

[convertkit form=817745]

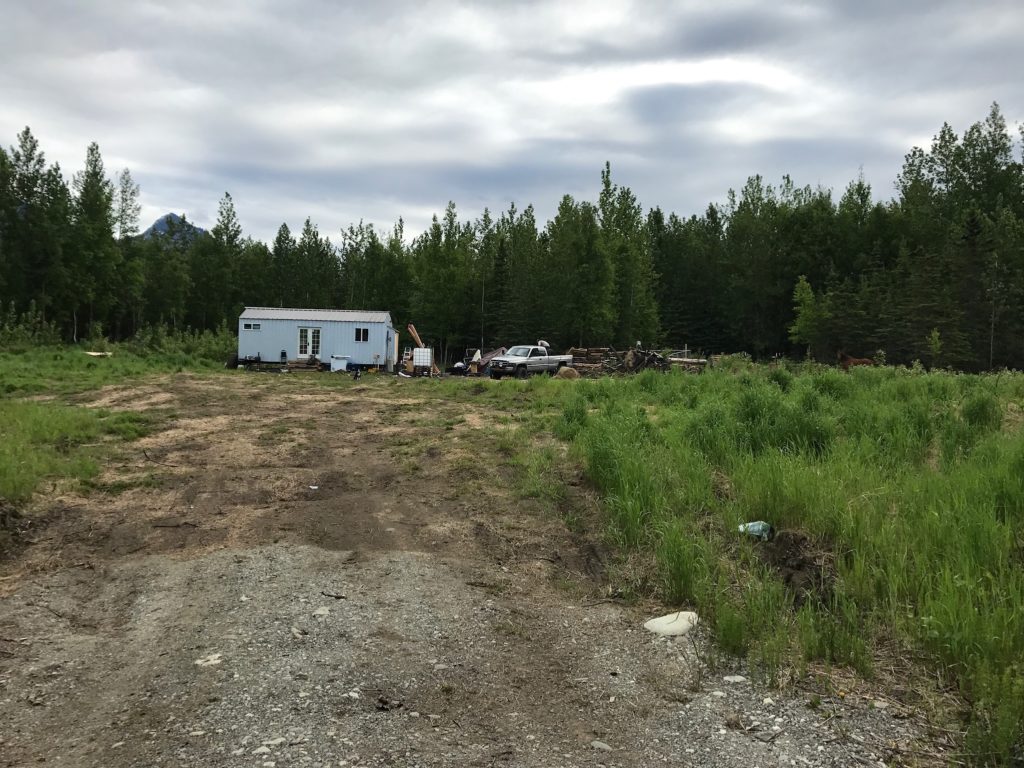
our raw land, view from our driveway. This was the first spring here
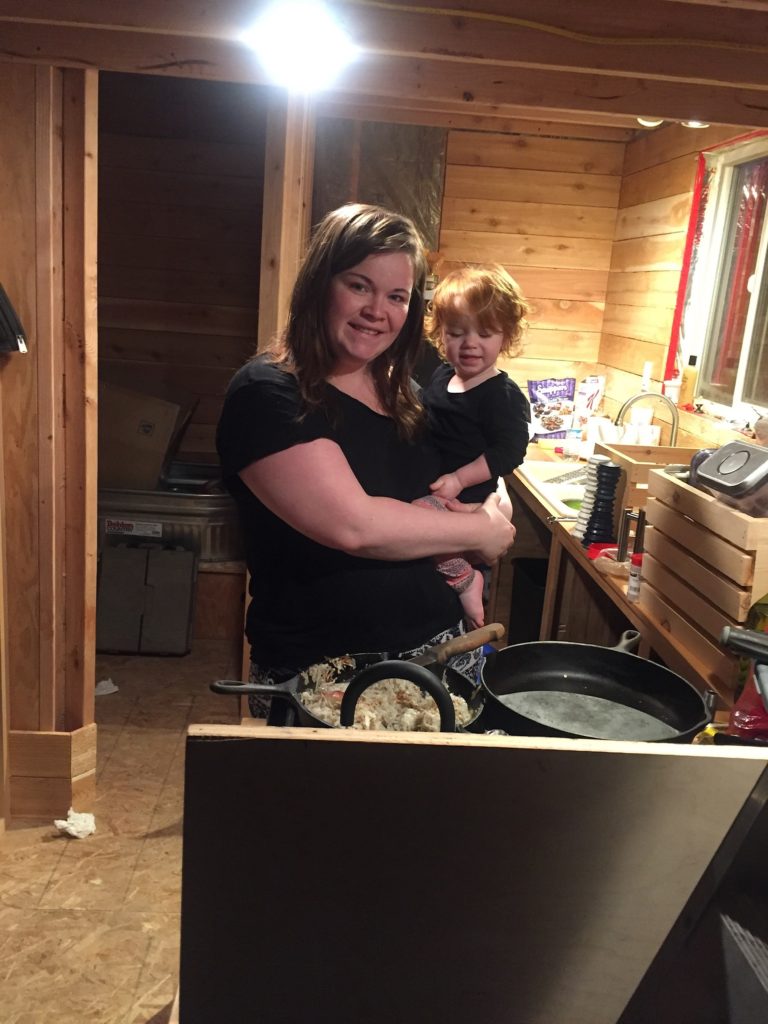
Building a tiny house is EXHAUSTING (my face testifies) , but oh the memories made!

This year we celebrate two years of living on our property. It is, in a way, a childhood dream for both of us come true. A home that we built, on our own land with room for animals. It was a major step in our simply wild life. We have made a tradition for this day, January 25th. The first thing I baked in my new oven was an apple pie. So, in honor of this very momentous day, as any tradition goes, I am making an apple pie today (and gluten-free at that!).

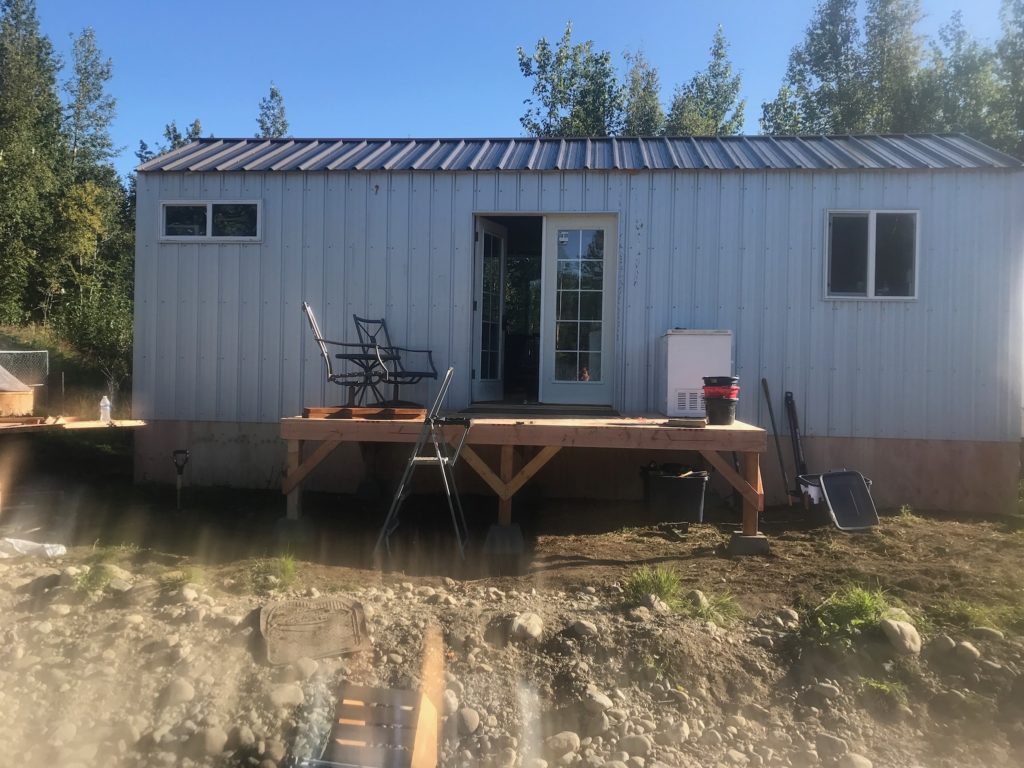
We added a porch the following year

We hope you enjoyed this tiny house building journey in a nutshell. If you have questions or comments be sure to contact us, we’d love to hear from you!

Its not finished, the land is still raw but its our home.
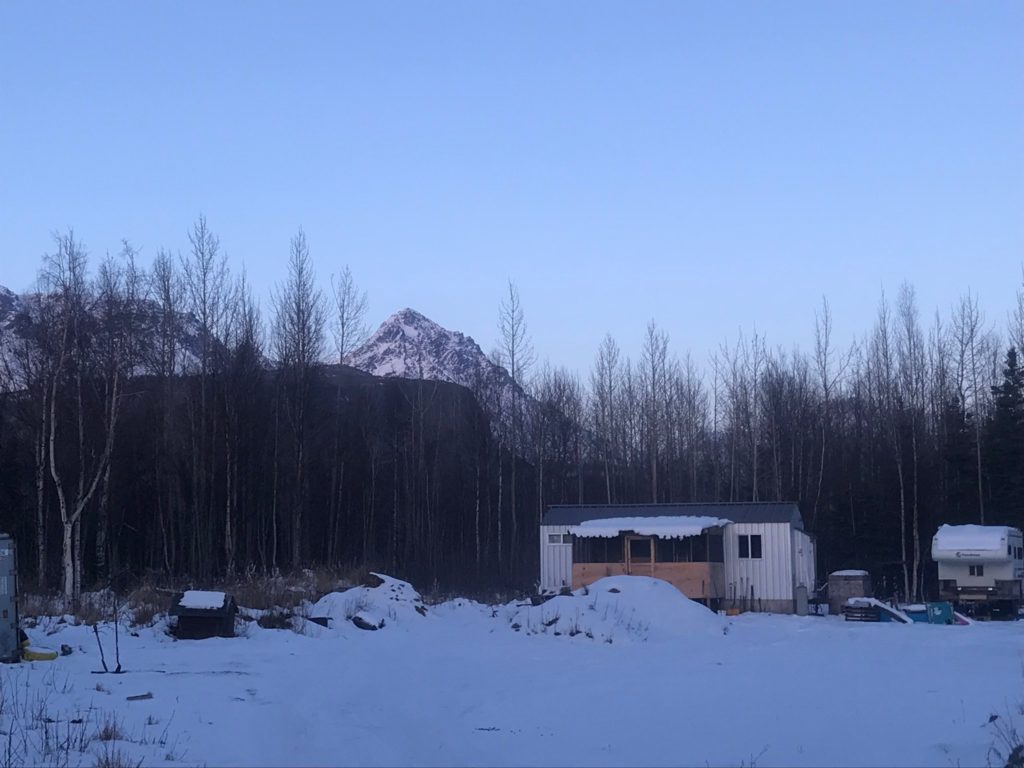
Eska Mountain and Granite Peak
Logo of the Simply Wild Project

DIY Body Wash on a Budget

[convertkit form=825218]

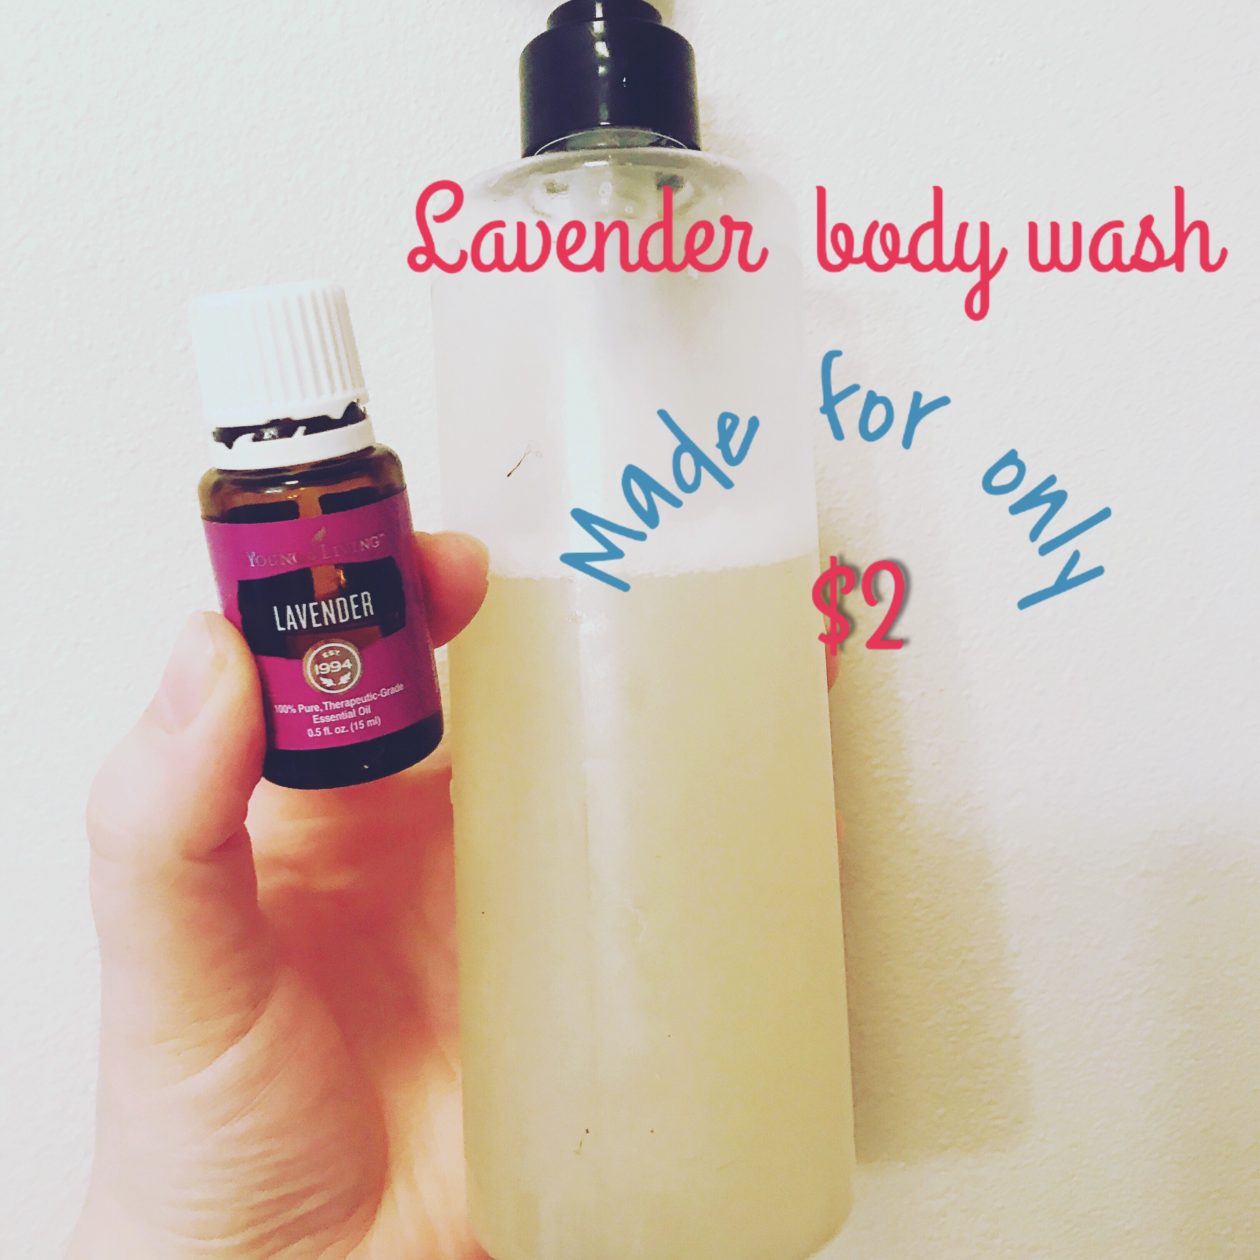
Who’s on a budget? And who of us just doesn’t plain love a good deal?! I know I do! I made this EASY and good-for-you, budget-friendly DIY body wash for around $2! Stay tuned, I’ll share the recipe!

Disclaimer: This post contains Affiliate Links for your convenience and at no additional cost to you.

So a few may be asking why is $2 body wash such a big deal? And I ask you, have you been around a 3 year old, specifically at bath time? They use a lot of bubbles! So, I need a body wash that is as cheap, as healthy, and as safe as possible!

[convertkit form=817745]

This quick and easy budget friendly body wash has only 3 simple ingredients (a win for a busy mama!). And like most bath products, the first ingredient is water. The other ingredients that you can’t get right out of the tap are unscented castile soap and a pure essential oil of your choice.

Castile Soap

I simply love this plant based product! I get the unscented kind so I can add my essential oils, and let me tell you, they pair well together. But the reason I love this stuff is because it’s so gentle on my kiddos sensitive skin! If you can’t find castile soap in your local store, you can get it here!

Essential Oil

The essential oil that I chose (and recommend) was Young Living’s lavender. Why Young Living essential oils? Well, you can read the full blog here, but in short, I trust that they are safe to use with my kids. The aromatic qualities of lavender help to soothe and relax, so perfect for just before bedtime! Keep in mind that I’m not diagnosing or treating anything here… just passing on my experiences.

One of my faves from the Premium Starter kit
Lavender

You can order Young Living’s lavender essential oil here after creating an account. But let’s be honest, we like a deal and! Once you get started with essential oils, you will find numerous uses for them (I’ll be posting DIY recipes). So, signing for a wholesale account would give you a 24% discount on every product from Young Living. …did someone say DEAL?! Dooooo itttt! Sign up for wholesale membership here (and check out this page for a bit more info about a Young Living membership)!

The oils you get with Premium starter kit!

Okaaaayyyy are you ready?

You will need:

Add all three ingredients together and it’s ready to use! Gently shake before each use!

So great, I have this awesome body wash that the whole family can use, but what do I do with this extra Castile soap?! Well,  you can make more body wash (perhaps a manly smelling one with Young Living’s Cedarwood or Valor blend??) OR I am working on the perfect LAUNDRY SOAP recipe so stay tuned for that!

Be sure comment and share if you found this helpful!

Logo of the Simply Wild Project

Intro to Essential Oils

“What are those hippy smelling oils?” I can’t tell you how many times people have asked me this question. But I’ll let you in on a little secret; you don’t have to be a hippie to enjoy essential oils and their amazing benefits! So, what are essential oils and what’s so great about them? Sit back, relax, and I’ll give you the 411 in this intro to essential oils.

What are Essential Oils?

Essential oils are the life of the plant. They are a concentrated composite of all the unique chemicals that medicinal plants contain that give the plant its healing properties. They are generally extracted from the leaves (ex. Lavender)  and petals (ex. Rose). Brady and I chose to become Young Living Essential Oil customers after observing operations at one of their herb farms and processing centers. Let me describe the steps in producing these amazing essential oils.

Young Living owns the farms and facilities used to produce their essential oils. This ensures consistency between batches and tight quality control adherence.


The plants are harvested at peak ripeness and then go through a steam distillation process to draw out the essential oil. The oil is then collected and bottled without additives to preserve its full, 100% pure potency. Why is the “no additive” part such a big deal? Well, that’s because the additives can be chemicals that cause harm to your skin… which defeats the purpose of using essential oils in the first place, right?! I experienced the Young Living difference when I applied some cheap brand at a health food store. I got a chemical burn! Ouch! But, when I used the same species of essential oil produced by Young Living, it HELPED my skin to repair itself and even boosted my skin’s overall look. I was sold on Young Living after that!

Because there is no essential oil regulation agency, any company can claim to make “therapeutic grade” essential oils, even if they use very little, if any, plant-based oil in their products. So how is Young Living different? They have a Seed-to-Seal promise. Meaning, they grow their OWN plants and distill and process their own oil. But wait, it gets better. You are WELCOME to go to their farms and see their distillation process and ask questions. To me, that speaks volumes to their integrity, which is why Young Living is the only essential oil producer that I trust when shopping for pure essential oils.

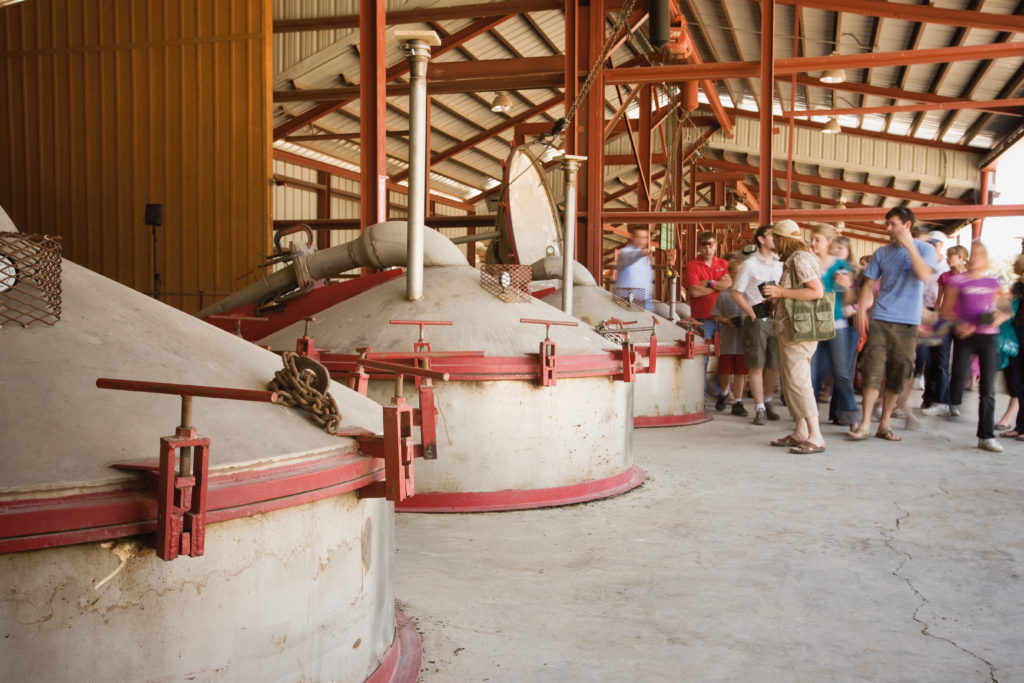
Visitors observing the steam distillation process at a Young Living farm.

How to Use Them

Now that we’ve talked about what essential oils are, let’s discuss how they can be used. It amazes me how versitle 100% pure essential oils are in helping us to boost our immune systems and improve overall quality of life. We personally use Young Living essential oils for everything from cooking and cleaning the kitchen to hygiene and hollistic remidies. They truly do help us reduce the toxins that are so prevelant in our everyday lives. Here are examples of the ways that you can use essential oils to also gain their benefits for your life!

[convertkit form=817745]

  • Aromatically – The most common way to use essential oils. Improving the smell of your home without the elaborate chemicals and accelerants found in commercial air fresheners, which can be harmful to your lungs. Diffusing essential oils also have an emotionally uplifting benefit as well due to their properties that balance the chemistry within your brain. Personally, I use the blend Release to help me during an anxiety attack to center and ground myself. Don’t let this route fool you into thinking that it is weak because of its indirect nature, I have used this method to calm my panicked 1200 pound horse!
  • Topically – Essential oils quickly absorb through the skin and cross into the bloodstream. The unique healing properties of each essential oil interact with your body on a cellular level to enhance tissue function. For me, Lavender is my go-to topical essential oil. I use it for so many things around the home, like body wash for the whole family, skin care for myself, beard oil for Brady, and even DIY butt balm to fight diaper rash. Peppermint and Wintergreen are powerful against muscle and joint aches, and are our favorite for immediate pain relief.
  • Internally – This is ONLY recommended with quality, 100% pure essential oils such as those produced by Young Living. Young Living has a product line called “Vitality” that contains all their essential oils and other products that are safe for consumption. An example would be Digize, a blend of oils that supports your digestive system. Brady will use it by placing a drop or two in his mouth before meals to prevent heartburn. At the first sign of sickness, we will fill up and swallow a capsule with Oregano and Basil essential oils, which often times nips the sickness in-the-bud.
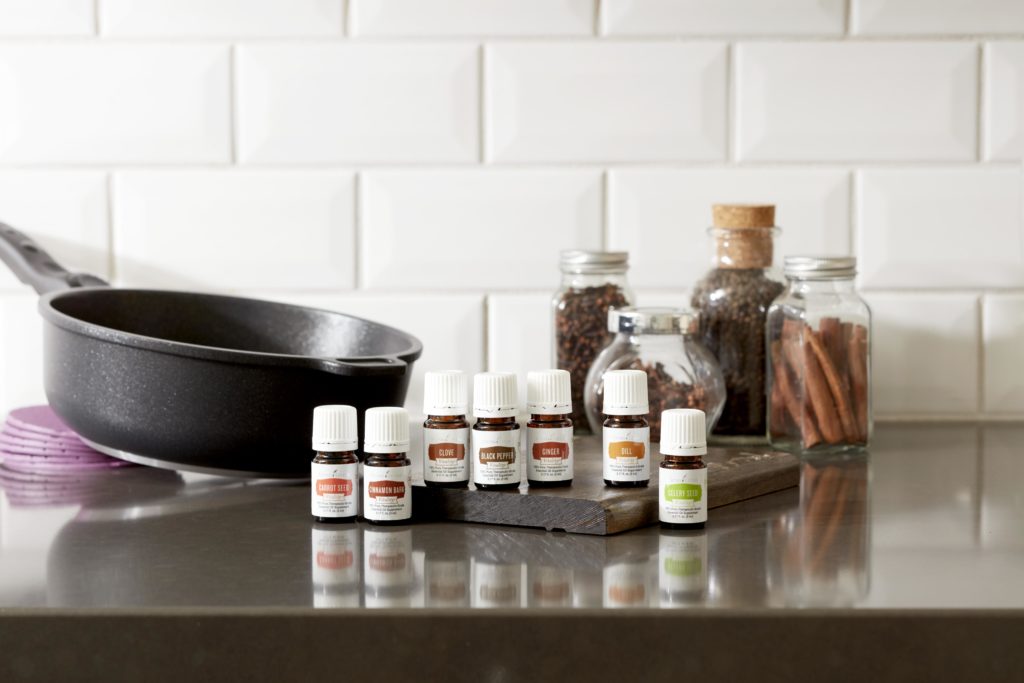
Young Living’s “Vitality” line is safety to use in cooking and baking.

So, why do I neeeeed essential oils in my life?  Let me share with you my WHY!

Growing up, I was raised that if Pinesol or bleach couldn’t do the cleaning job, then nothing else could. But, I was always puzzled by why they always made me feel nauseous when I was around them. Well, it’s because the chemicals are so potent that they can actually do damage to your cells.
Don’t get me started on cosmetics! What girl doesn’t like to smell pretty? I sure do! The perfume I was using was full of parabens, which are linked to increased cancer rates, and I was putting that on my skin!  And when I became a mama, I checked out baby soap and lotions and found the same thing. Now, I wouldn’t jump straight to “I’m a hippie,” but why would I want to put those harsh chemicals on myself and my babies and then clean my home with them? So I made the switch to Young Living products and actually SAVE money as well! Win-win. If you haven’t looked, you might be surprised by the wide range of health and household products that they make.
 
Now I have to ask, are you ready to make the switch? If you’ve found your WHY, let us help you discover the HOW! Check out our guide to getting started with essential oils!

An example of one of Young Living’s Premium Starter Kits.
Logo of the Simply Wild Project