[convertkit form=825218]
Disclaimer: This post contains Affiliate Links for your convenience and at no additional cost to you.
This is the first post in a series that will help guide anyone aspiring to build their own tiny house. To be clear up front, I’m not recommending in any of these build-posts that you go against established building codes or your local regulations. I am only sharing what we did and what works for us. Never compromise your safety for a shortcut or cost savings, and when in doubt, ask an expert.
So you’ve decided to build your own tiny house. That’s great! Building your own tiny house can seem intimidating, but with the right tools and a lot of determination, you can do it! If you haven’t seen it already, check out our own tiny house building story. I’m not meaning to undermine the incredible amount of knowledge and skill that professional craftsmen have, BUT! If you have
Before you can begin your build, you will need some specific tools on-hand. I’ve provided links to all of these tools on Amazon. These are the same tools that I have and did use on our tiny house. You’ll notice that I favor certain brand names. Yes, there’s a reason for that, mainly that I find these products to be a good balance of quality and affordability. If you can get these tools for cheaper at a local hardware store or lumber yard (or used), then I encourage you to take advantage of that bonus. But, if you can get a better deal online, it would help us to fund this blog if you would use the links in these articles for your shopping (thank you in advance!).
And now, the tiny house building tool list you’ve been waiting for!
[convertkit form=817745]
Carpentry
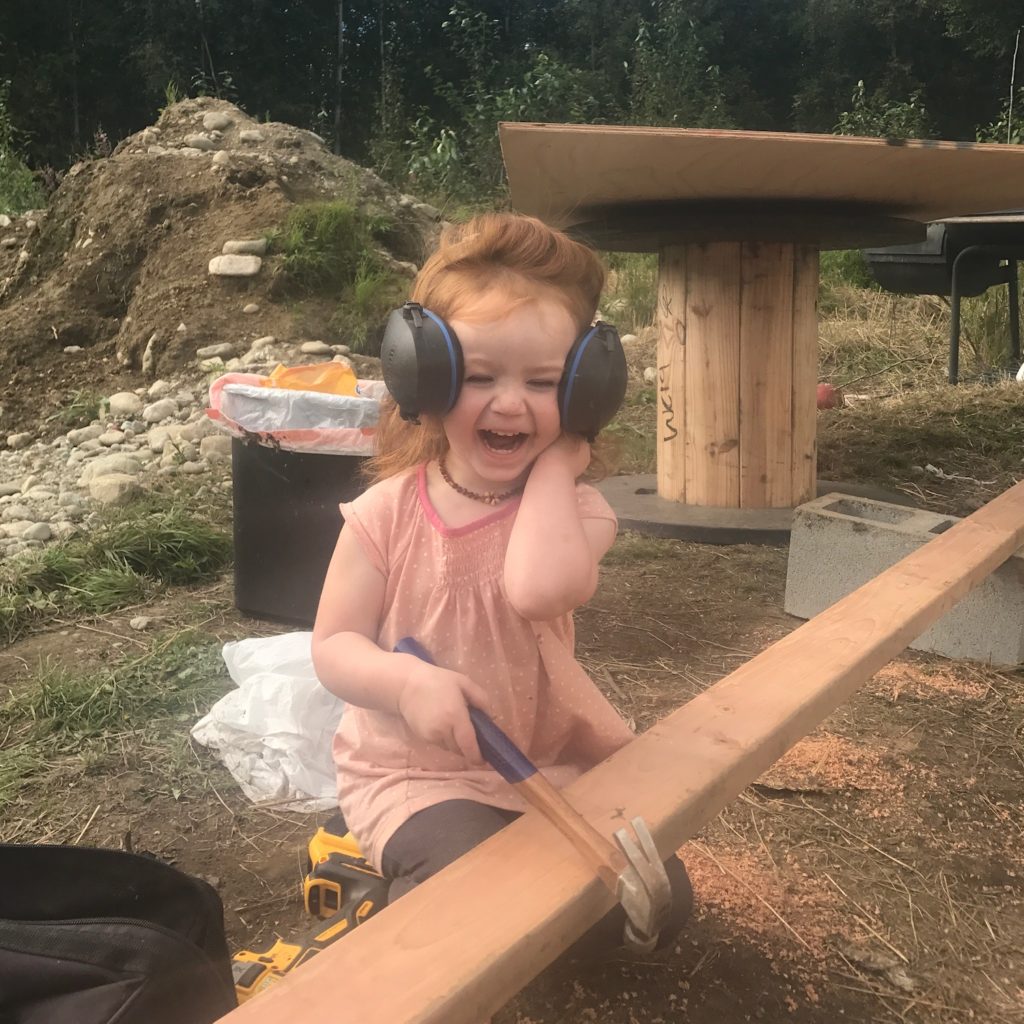
Framing Square
It’s not all that sexy of a tool, but it is vital for almost every aspect of carpentry work that you’ll do while building your tiny house. No kidding. One of the first things you must do is to make sure that your trailer is “square” (meaning that the corners for a 90-degree angle at all four corners). From there, you’ll use this to ensure that your walls meet-up at “square” corners. This tool will even come in handy for figuring out your roof-pitch, building stairs, and assembling your kitchen cabinets.
Level
This is a very basic tool that you will need before you get very far into your project. It will behoove you to level your trailer before you start standing up walls. This is the tool for that task. If you can afford to get an 8′ long level, it’ll help you get a more accurate reading in many situations. If you can only afford one level, then I recommend starting with a 4′ long level. It’s long enough to get a pretty good level reading over a distance, yet short enough to be used in smaller spaces such as window and door frames. Plus, a 4′ long level is just the right size for using as a straight-edge for drawing perfectly straight lines across a sheet of plywood for a circular saw cuts. Basic, but multifunctional, and 100% necessary for your tool kit.
Circular Saw
If I could only have one do-it-(almost)-all saw, it would be a circular saw. It wasn’t until I was well into my 20’s that I realized the correct term was circular saw and not “skill saw.” Skil is synonymous with the circular saw where I grew up. So naturally, I gravitated toward the Skil brand when it was time to buy my own. And I haven’t been disappointed! It’s a simple little contraption that doesn’t need extra bells and whistles. This is a must-have tool for cutting plywood, sheet metal, and dimensional lumber.
Sliding Miter Saw
While the circular saw is the jack-of-all-trades cutting tool, the miter saw is your dimensional lumber cutting specialist. Seriously, this will save you so much time on framing projects that you can’t afford to not have one. But why a sliding model? You could make due with a simpler model, you’ll just need to add-in a few extra movements when it comes time to cut the 2″x12″ headers over the door and windows. Not complicated, just inconvenient.
Drill/Impact Driver
Unlike most home construction projects that I’ve seen, we decided to use screws instead of nails for the framing. My rationale behind that is that screws should hold everything together better than nails while the tiny house is bouncing down the highway at 55 mph. Maybe it’s overkill, but I’m happy with the results regardless. Probably the biggest factor for choosing to use screws though was the fact that I didn’t have an air compressor nor a 3″ nail gun. So we went forward with our one cheap power drill that I owned, which bit the dust just as we started the framing. Oh well, new toys (I mean… tools)!.
I bought this combo set by DeWalt so Rachel and I could be working at the same time. I was impressed by the battery life, especially the upgraded 5 amp-hour batteries (these often lasted all day on one charge). The hammer-drill is a little beast that can drive 3″ deck screws through lumber with authority. Overall, I’m very happy with this set and would buy another in the unlikely event of a failure (they’ve been severely abused over the last few years and just keep working).
[convertkit form=817745]
Electrical
After we framed and enclosed our tiny house, the next thing we did was to rough-in the electrical. Like carpentry, the basic elements of electrical work aren’t complicated. However, unlike wood, electricity isn’t as forgiving if a mistake is made. So it was with a few pointers from an experienced friend, we managed to do all of the electrical work ourselves. If you decide to wire your own tiny house, you will need a few basic supplies to get you started.
Wire Stripper
When you’re dealing with electrical wire all day, your best friend will be a good set of wire strippers. I found the pliers style to be less frustrating than the self-adjusting style. Plus, they often combine other useful features such as the ability to cut wire and crimp connectors. Other than a couple of screwdrivers, this is the only tool you’ll really need for about 98% of your wiring needs.
Connectors
Twist-on wire connectors, or “wire nuts” as I grew up calling them, are not very complicated. But you will need more than a few handfuls to finish your tiny house. And I don’t know about you, but I find that wire nuts can be a bit frustrating when trying to connect 3 or 4 wires. Our friend introduced us to push-in connectors, which allow for easy connecting many multiple wires. The 3 port connects will do most of the needed work, with 4 port connectors mostly (maybe only) being needed for 2-way switches. They’re simple to use and almost foolproof. Plus, in my opinion, everything fits better in the electrical box when the push-in connectors are used compared to traditional wire nuts.
Electrical Tape
I feel like I shouldn’t have to talk about electrical tape, so I’ll keep this short. Get a few rolls, and use them. Seriously, bare wire (except for the ground wire) makes me nervous. When in doubt, wrap it.
Plumbing
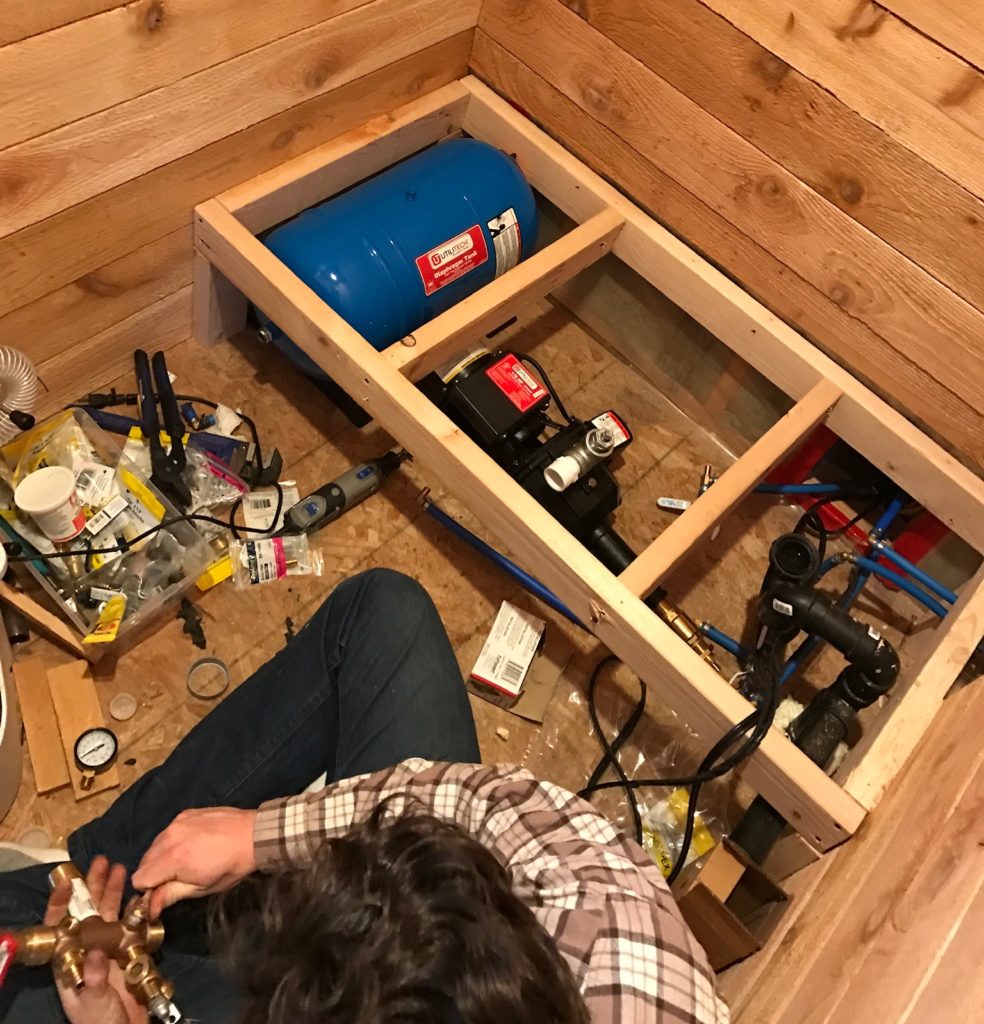
PEX Crimper
My first experiences with plumbing revolved around PVC pipes, joints, primer, and glue. While not complicated, it takes some practice to cut the pipes to a precise length, make the connections before the glue sets, and getting the joints set at just the right angle. Fast-forward however-many-years later, and now PEX pipe will handle the vast majority of your tiny house plumbing needs. While there are a few different PEX specific tools, the only one that you really need is the crimping tool. There are a few other viable options for cutting PEX pipe than the special PEX
Pipe Cutter
As I said above, there are other options for cutting PEX pipe than the special PEX cutter. This style of cutter is my preferred tool due to the multifunctionality. While PEX can fill most of your needs, you may need to incorporate copper tubing for propane or heating fuel lines. This tool will but both PEX and copper, and store-away in a much smaller space than the PEX cutter (an important consideration with living tiny!).
Flare Tool
There’s no need to be intimidated by copper pipe for propane or heating fuel lines. If soldering isn’t in your bag-o-skills, then I recommend using flare connections. The flaring tool is easy to learn and simple to use. The best part is that this one tool covers a broad range of the commons copper tube sizes that you may have to use.
[convertkit form=817745]
Now What?
If you’re not familiar with how to use any of these tools, then find a friend (or go make a friend) that has some experience and ask for a lesson. If all else fails, go to YouTube. Always take safety precautions when using power tools (especially the ones that are capable of removing fingers and large volumes of blood!). Practice until you’re comfortable with their basic functions. It won’t take you long to get comfortable enough to go live with your building project!
While this is not a comprehensive list of all the tools that you will need, it will get you pretty far into your project. I recommend having some basic handtools readily available, such as a hammer, a tape measure (thanks for the reminder Bob!), some screwdrivers, and a few different pliers. Eventually, you will also need a good air compressor and nail gun, and perhaps a jigsaw and/or reciprocating saw (I ended up with both).
In the next installment of this tiny house building series, I’ll discuss considerations for making your tiny house livable for the long-haul. Topics will include keeping your tiny house warm, water supply and delivery, and food storage. Stay tuned! In the meantime, we would love to hear from you. Leave us a comment or drop us an email!


